Ever wondered how the process of modeling a real-life room in 3D looks like? The aim of the project was to make it functional with VR devices! Suvi Pietiläinen, Helsinki XR Center’s trainee, tells us about their work with Kotikulma project.
Text & images by Suvi Pietiläinen
Hello! I am Suvi Pietiläinen and I study 3D animation and visualisation at Metropolia University of Applied Sciences. In spring 2023 I got an internship at Helsinki XR Center and have been involved in projects as a 3D artist. I also implemented the Kotikulma project, where I was responsible for making a whole room in 3D, using a 360 Matterport image as an aid.
Kotikulma is a space on the Myllypuro campus, which includes a kitchen, bedroom, living room and toilets. Kotikulma is a learning and research environment that simulates a safe home. In collaboration with various stakeholders, the space is used to develop physical products, activity practices and other services to maintain functional capacity. The aim of the project was to model the whole room and make it functional with VR devices. Later on, the aim is to possibly add other features.
3D modeling of Kotikulma
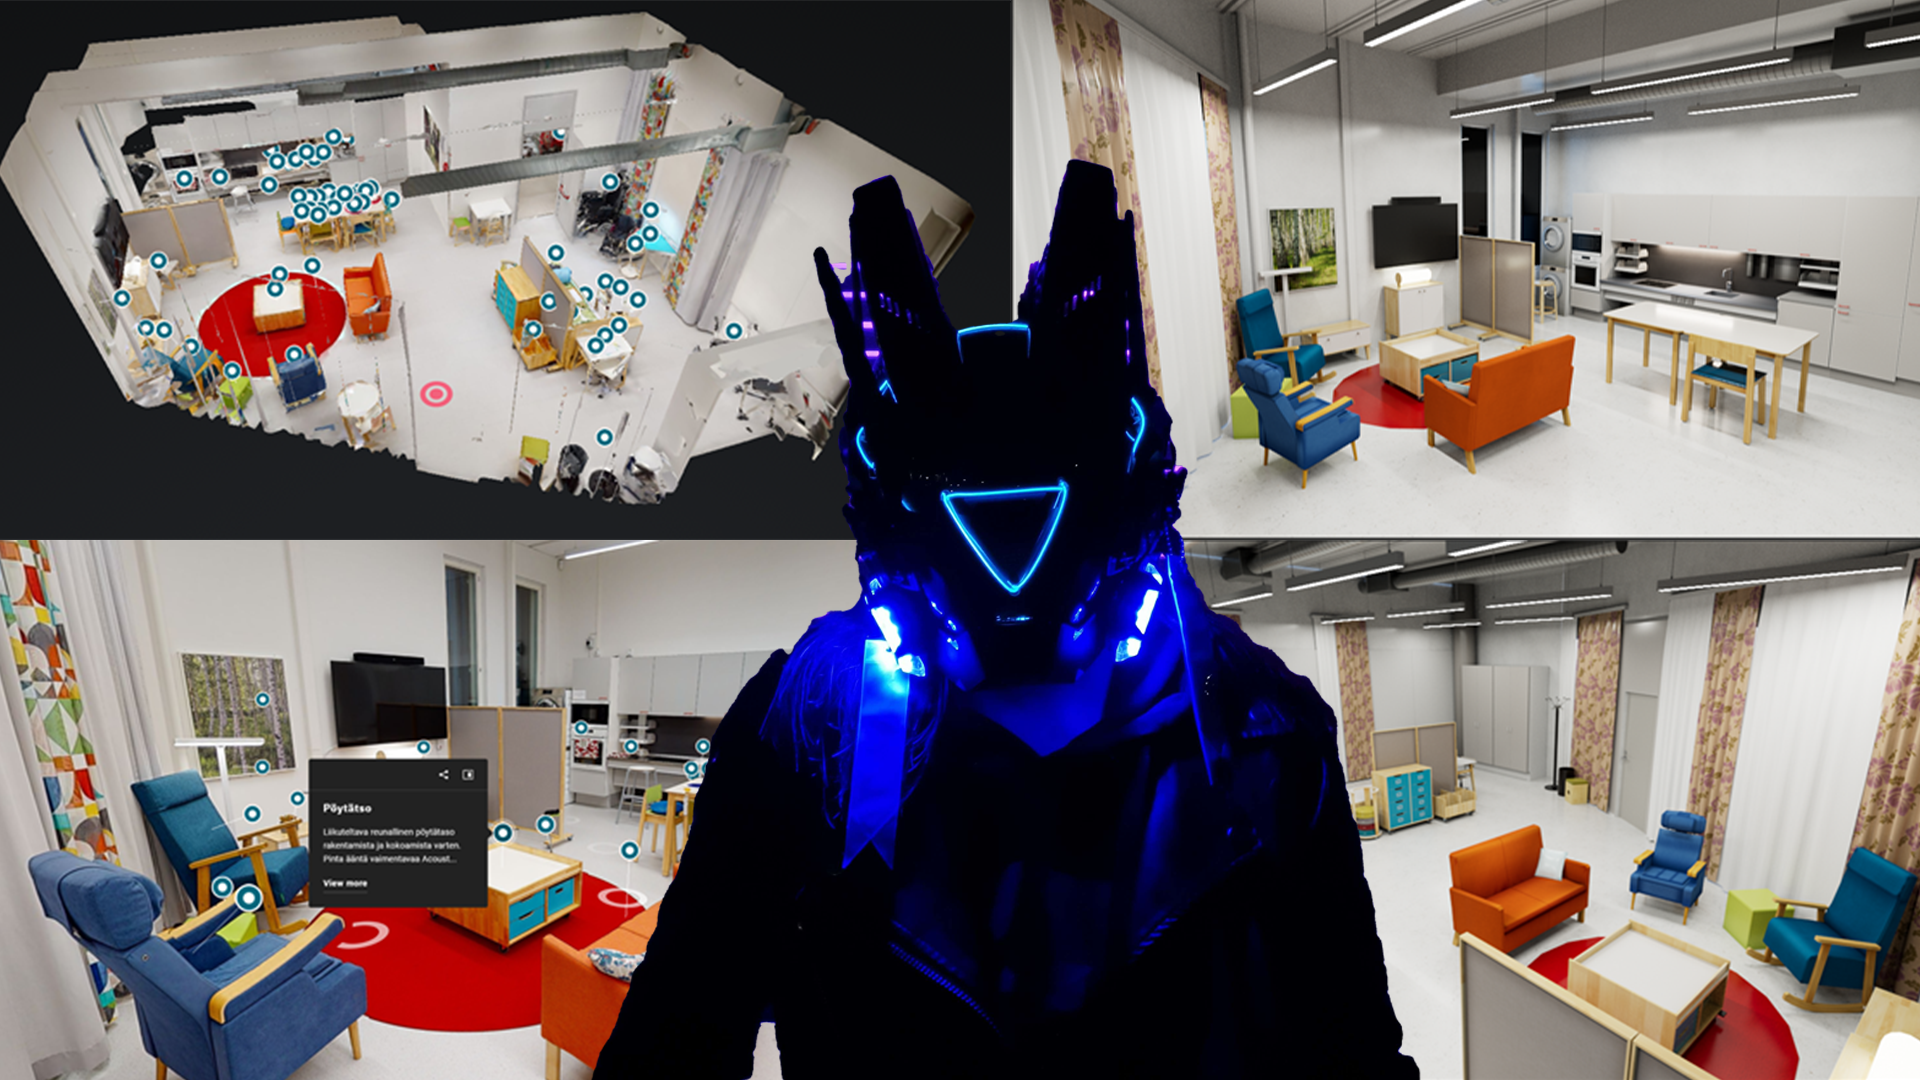
To model the Kotikulma, I mostly made use of a 360 Matterport image that had been taken earlier. The Matterport image included a measuring tool that allowed me to take rough measurements of the walls, floor, and other architectural details. The Matterport image also allowed me to view the space from different angles, which made it easier to measure walls and larger things in particular. In addition, links were embedded in the Matterport image to provide further information on, for example, assistive devices, but also furniture for learning environments. This allowed me to model the furniture to the correct dimensions without too many problems.
Of course, the Matterport image did not allow me to see some of the furniture from all angles, which made the modeling difficult. Some details were too small to show up properly in the picture, or were hidden behind other furniture. To save modeling time, I modeled the main furniture and details of the space, and for example omitted details that would not have a major impact on the experience. If necessary, we also had the opportunity to visit Myllypuro to photograph the space further.

The 360 Matterport image of Kotikulma could be viewed from many angles.

360 Matterport image of Kotikulma. The blue rings gave more information about objects and furniture.
As the modeled Kotikulma was to work on mobile devices or similar devices, it was important that the models were relatively simple and low-poly. The style of the space would be simple, but the textures would distinguish between different materials, e.g. fabric and wood. The textures did not use metallic or normal mapping, for example, to keep the textures light.
Once the designs were ready, I started UV mapping them. I tried to fit as many objects as possible in one UV folder, but usually one UV folder can hold about 3-4 objects depending on their size. However, I put the larger pieces of furniture individually in their own maps so that the quality of the textures didn’t suffer.
The modelling and UV mapping taught me a lot about how to optimise my working methods. I learned where to place the most optimal seam point for texturing, how to arrange the UV islands in a sensible way, especially when there are many objects in the same map, and if the object was symmetrical, the UV islands could be stacked on top of each other, reducing the workload when moving on to texturing.
The texturing was done entirely in Photoshop, painting by hand. I added a generally lighter colour to the edges of the models and a darker colour for highlighting. In texturing I learned how to paint different materials, although on the unity side the roughness of the materials is the same on the models.

Painted textures in UV map and Maya.
I downloaded some of the more difficult models from the internet so that I wouldn’t spend too much time modelling them. However, the models were not as low poly as required, so they needed some tidying up. The big problem was that their topology was in triangles and Maya’s Quadrangulate tool didn’t work for these models.
I spent a lot of time fixing the loaded models, but I also had to fix the UV maps and textures of the models. I was beginning to doubt that making the models from scratch would have been easier, but I did learn a lot from fixing the downloaded models.
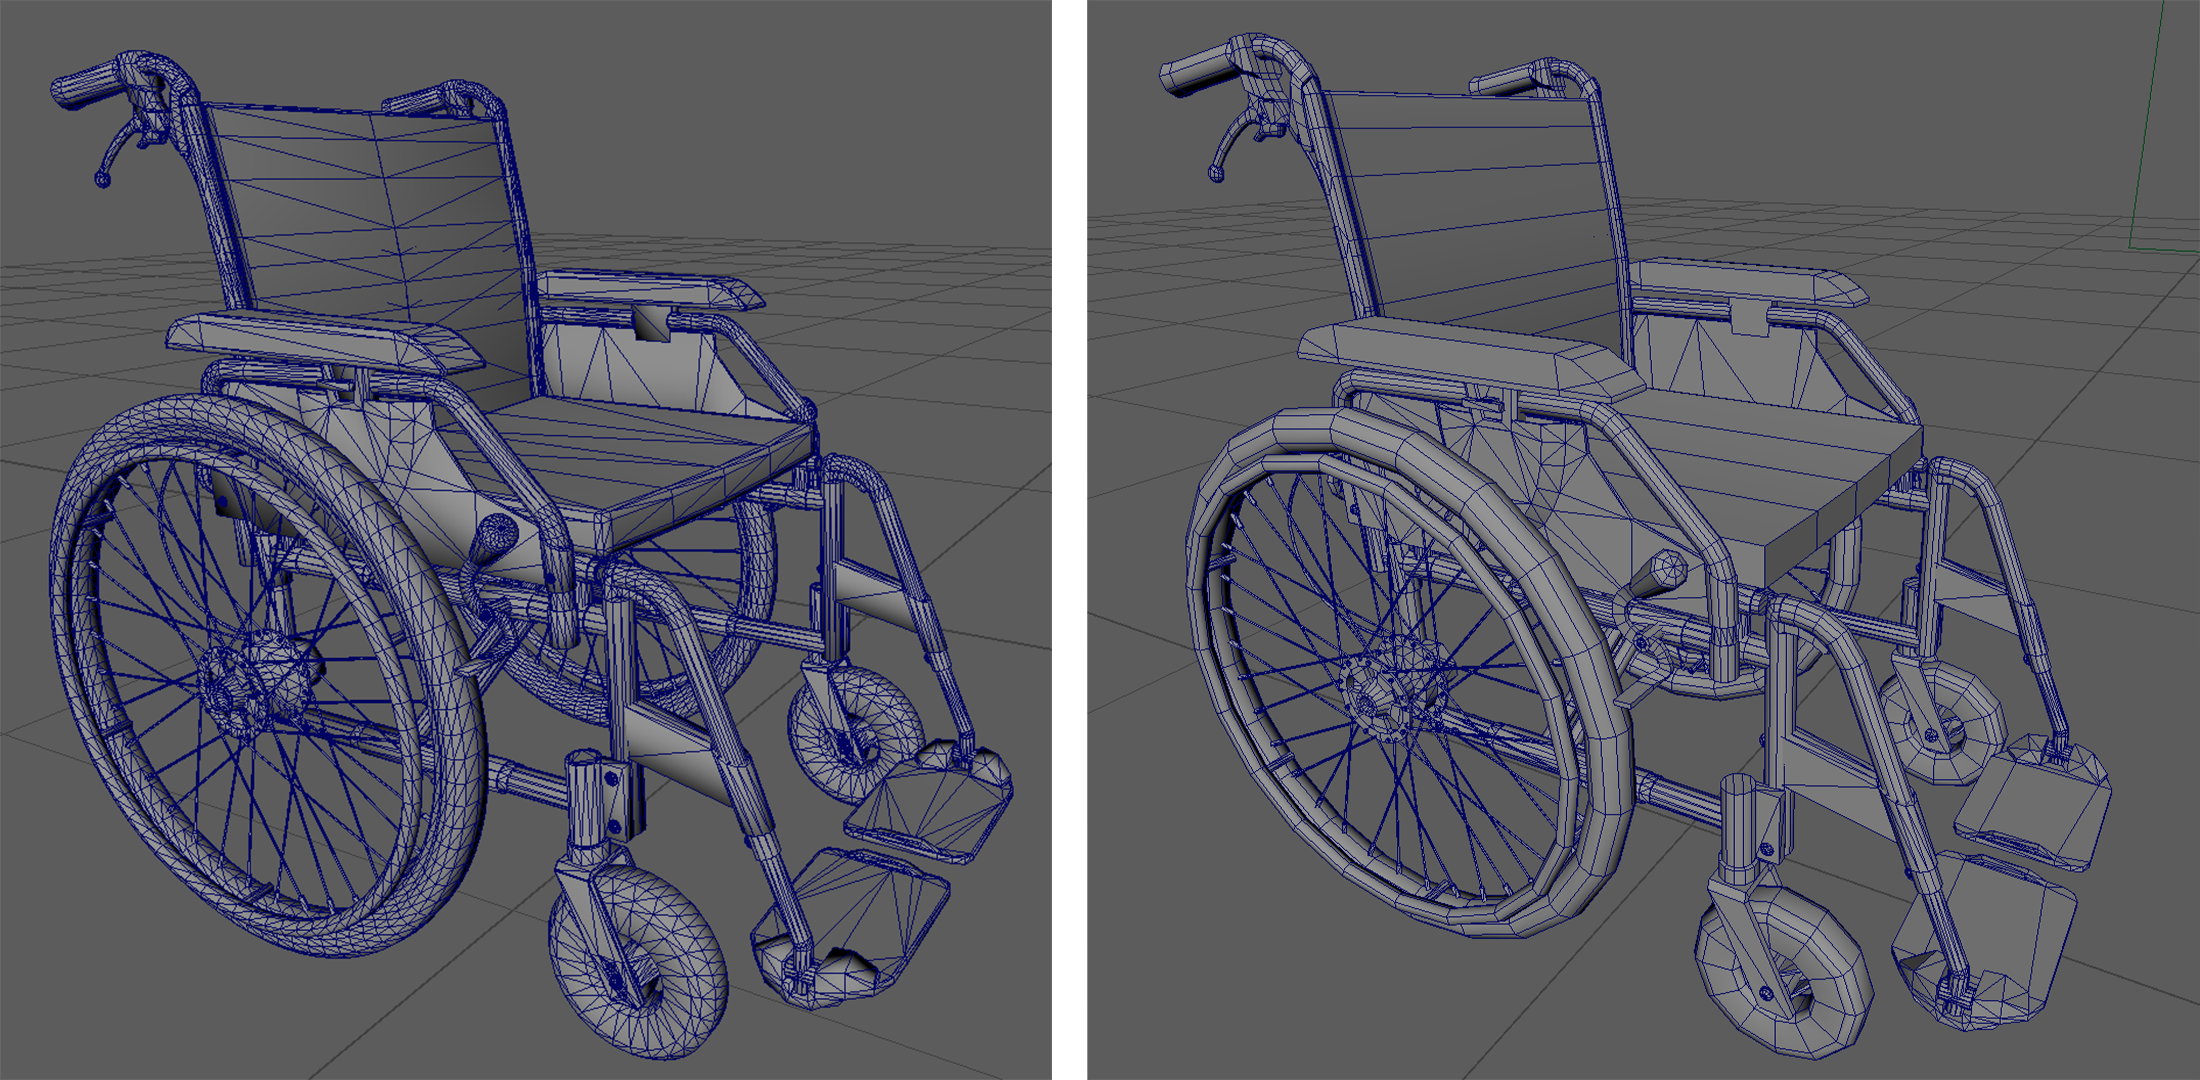
The loaded models were entirely in triangles, which made it difficult to clean up the model in Maya. The pictures show the loaded model on the left and the cleaned version on the right.
Finally, the models were transferred to Unity where the project’s coder, Väinö, coded the furniture to be mobile. Towards the end of the project, we received a message from the client with a few requests, for example for a fridge or an oven. I left the interior of these particular appliances unmodelled, but maybe at some point I’ll come back to add the missing features. When we got to show Kotikulma to a few visitors, everyone’s favourite activity was messing up the whole room and stacking things.
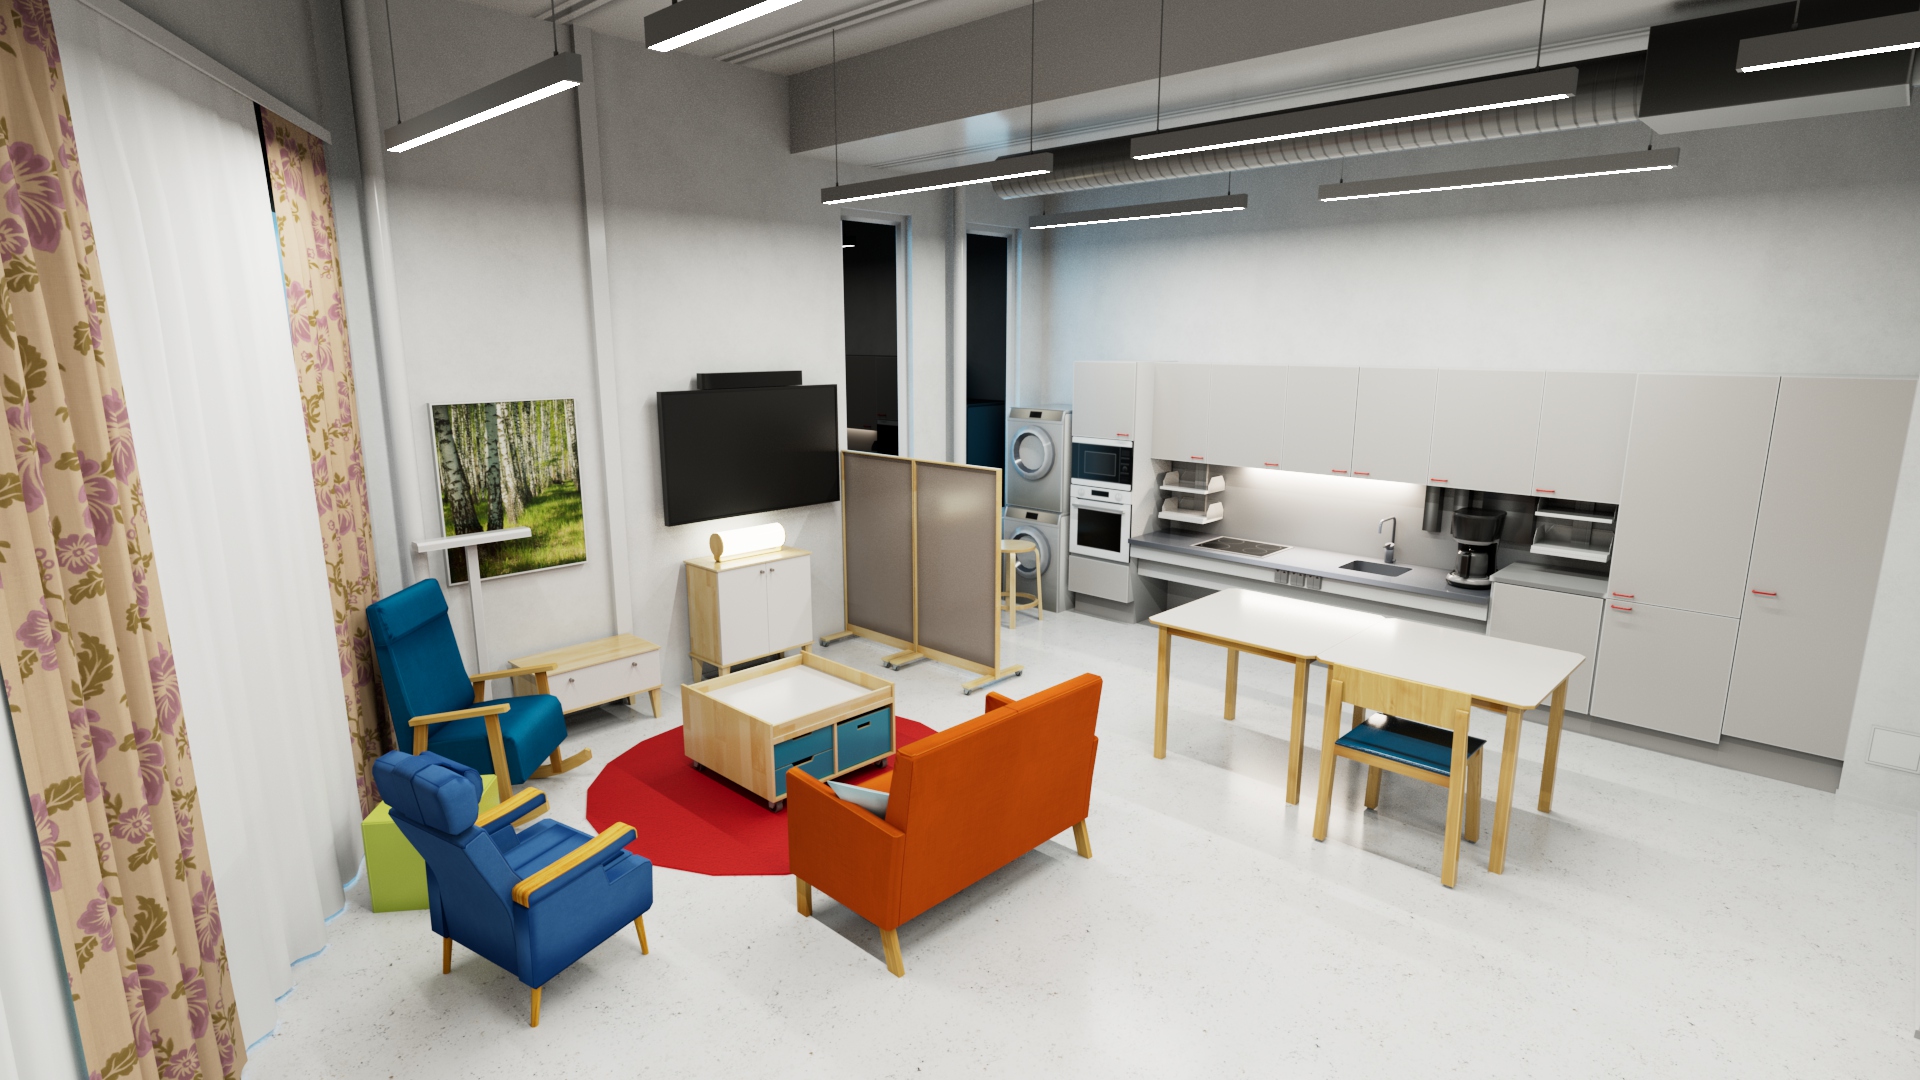
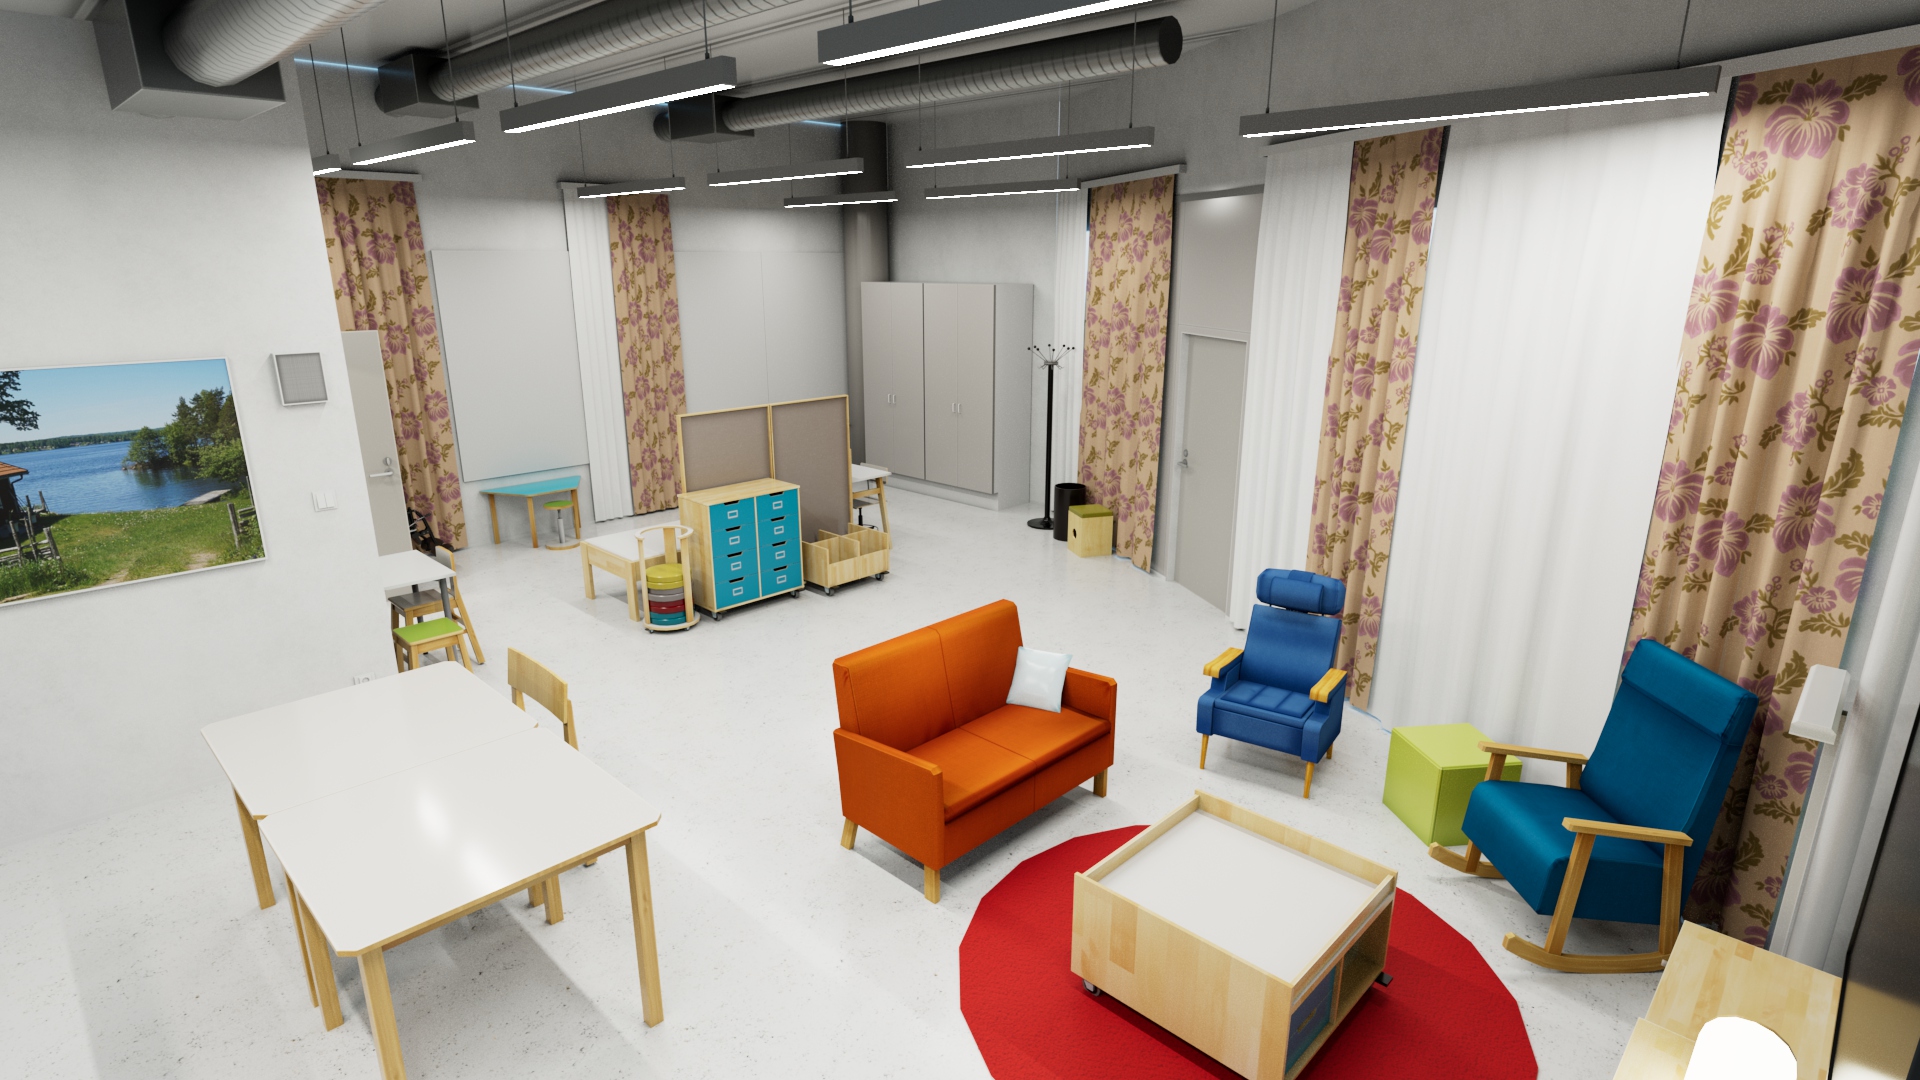
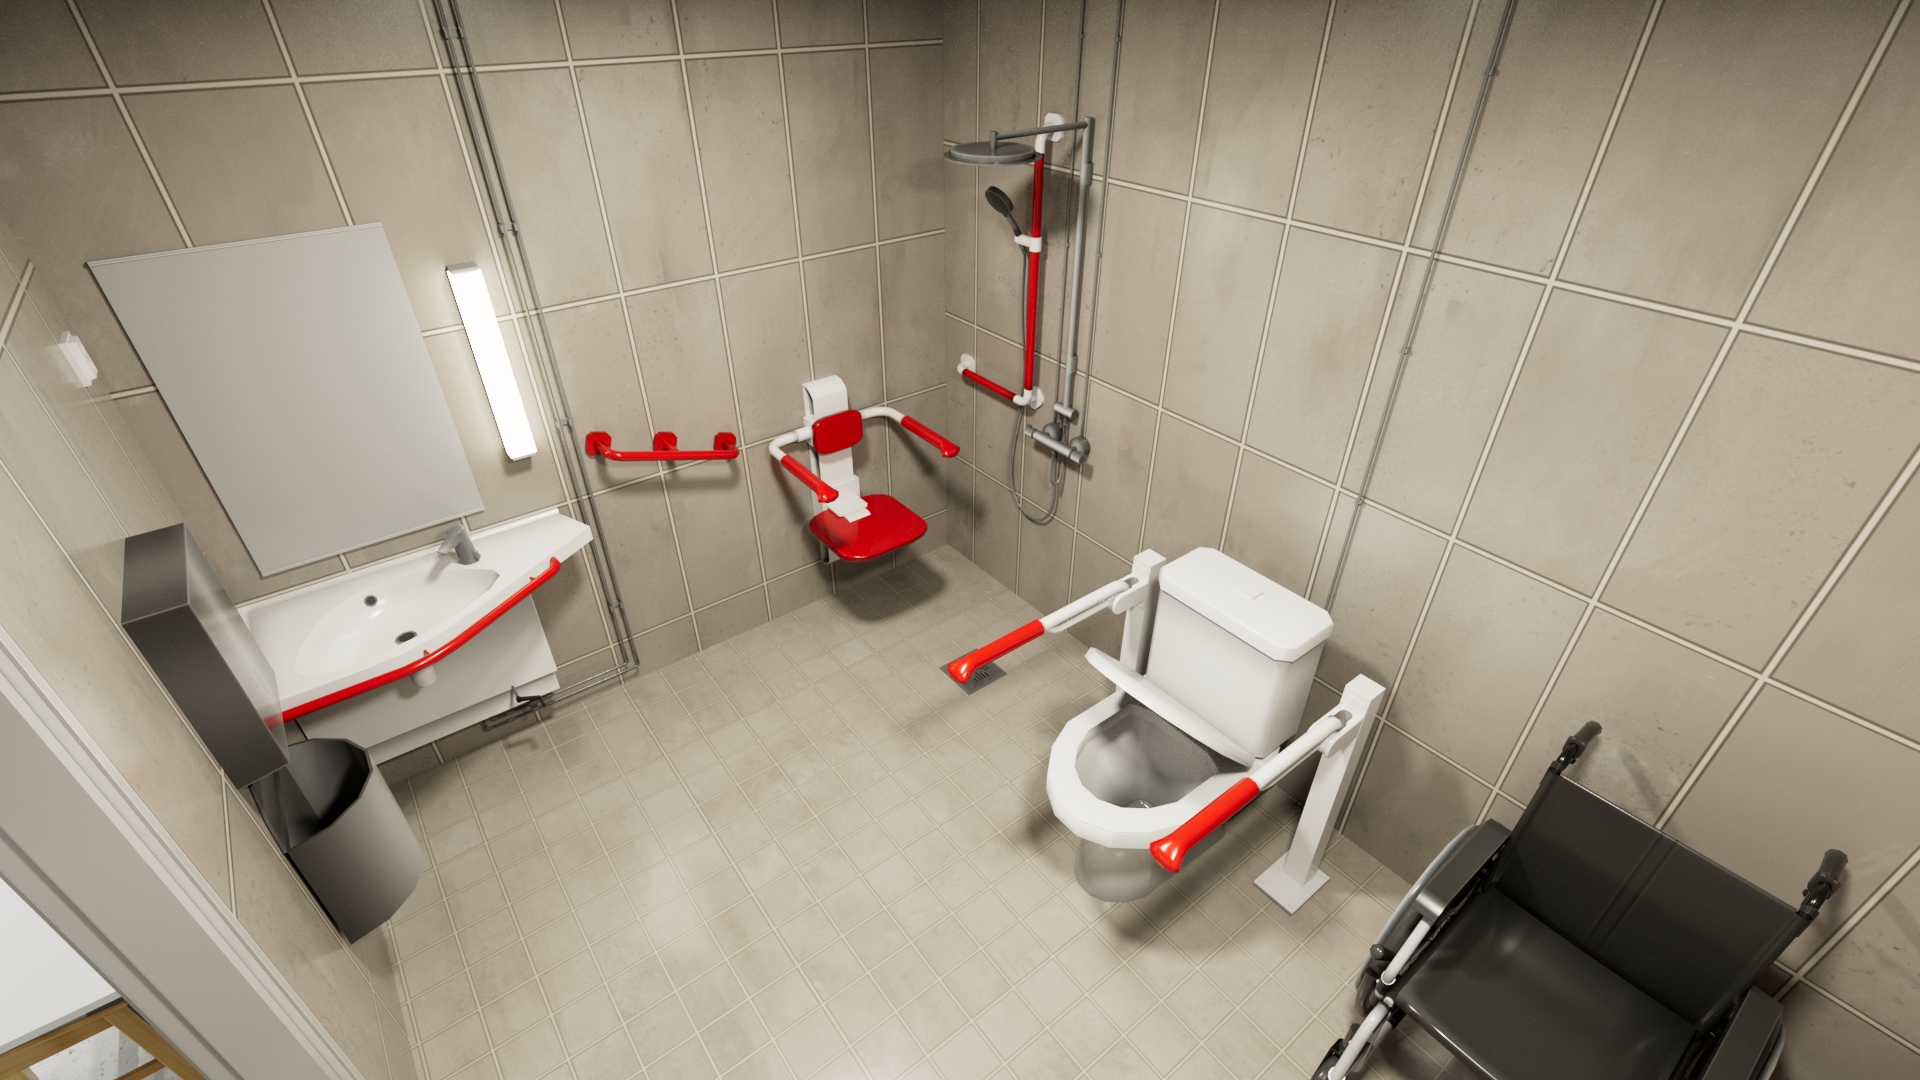
The end result from Kotikulma. Features may be added later.
Finally
All in all, the whole project was a really great learning experience about modelling a whole room and furniture. I was able to go through the whole 3D workflow and learn a lot of new things, while my workflow got faster. At the end, it was nice to see people enjoying running around in the room, even though the other features of VR were missing.
Working at Helsinki XR Center has been really nice and stress-free. I have had excellent opportunities to learn new things and the team has always been positive and helpful. There are more and more interesting projects all the time and I’m looking forward to the next challenge!
To see previous news about our trainees’ projects, head over to the Trainee news section.
Follow us on social media for more posts: Facebook | LinkedIn | Twitter | Instagram
